Process
3 Foot long Pterosaur Skull
Project: Pterosaur skull 3 feet in length
Project Goals: Commissioned to make a 3-foot-long Pterosaur Skull for a non-profit organization named Cosplay for Science (https://www.cosplayforscience.com) as a piece for one of their pop-up museums. Commissioned to be fully printed and painted in a realistic way a fossil would appear.
Print Specifications:
Filament: Matter Hackers PLA Pro
3D Printer: Ender 3
Layer Height: .2milimeters(mm)
Infill: 30% to insure better durability for a traveling prop
3D Printed pieces: 19
Adhesive: JB Weld
Panting Tools: Airbrush, Airbrush paints, Clear Gloss Coat
Fabrication Process:
A 3d model of a Pterosaur skull was prepared by enlarging it to three feet in length and then dicing it into 19 different 6-inch pieces to be 3d printed. Keys were then made and modeled into the skull model before printing for easy assembly. The pieces were 3d printed on 2 separate Ender 3 pros, they were sanded and adhered together with JB Weld. After the JB Weld hardened the print was sanded again to make the seam lines and layer lines be flush with the rest of the model. After getting to a state that the client was happy with it was then primed in a gray primer using an airbrush and then painted to the finished product shown in the pictures above. Lastly, it was sealed with a semi-gloss enamel finish.
Job done.
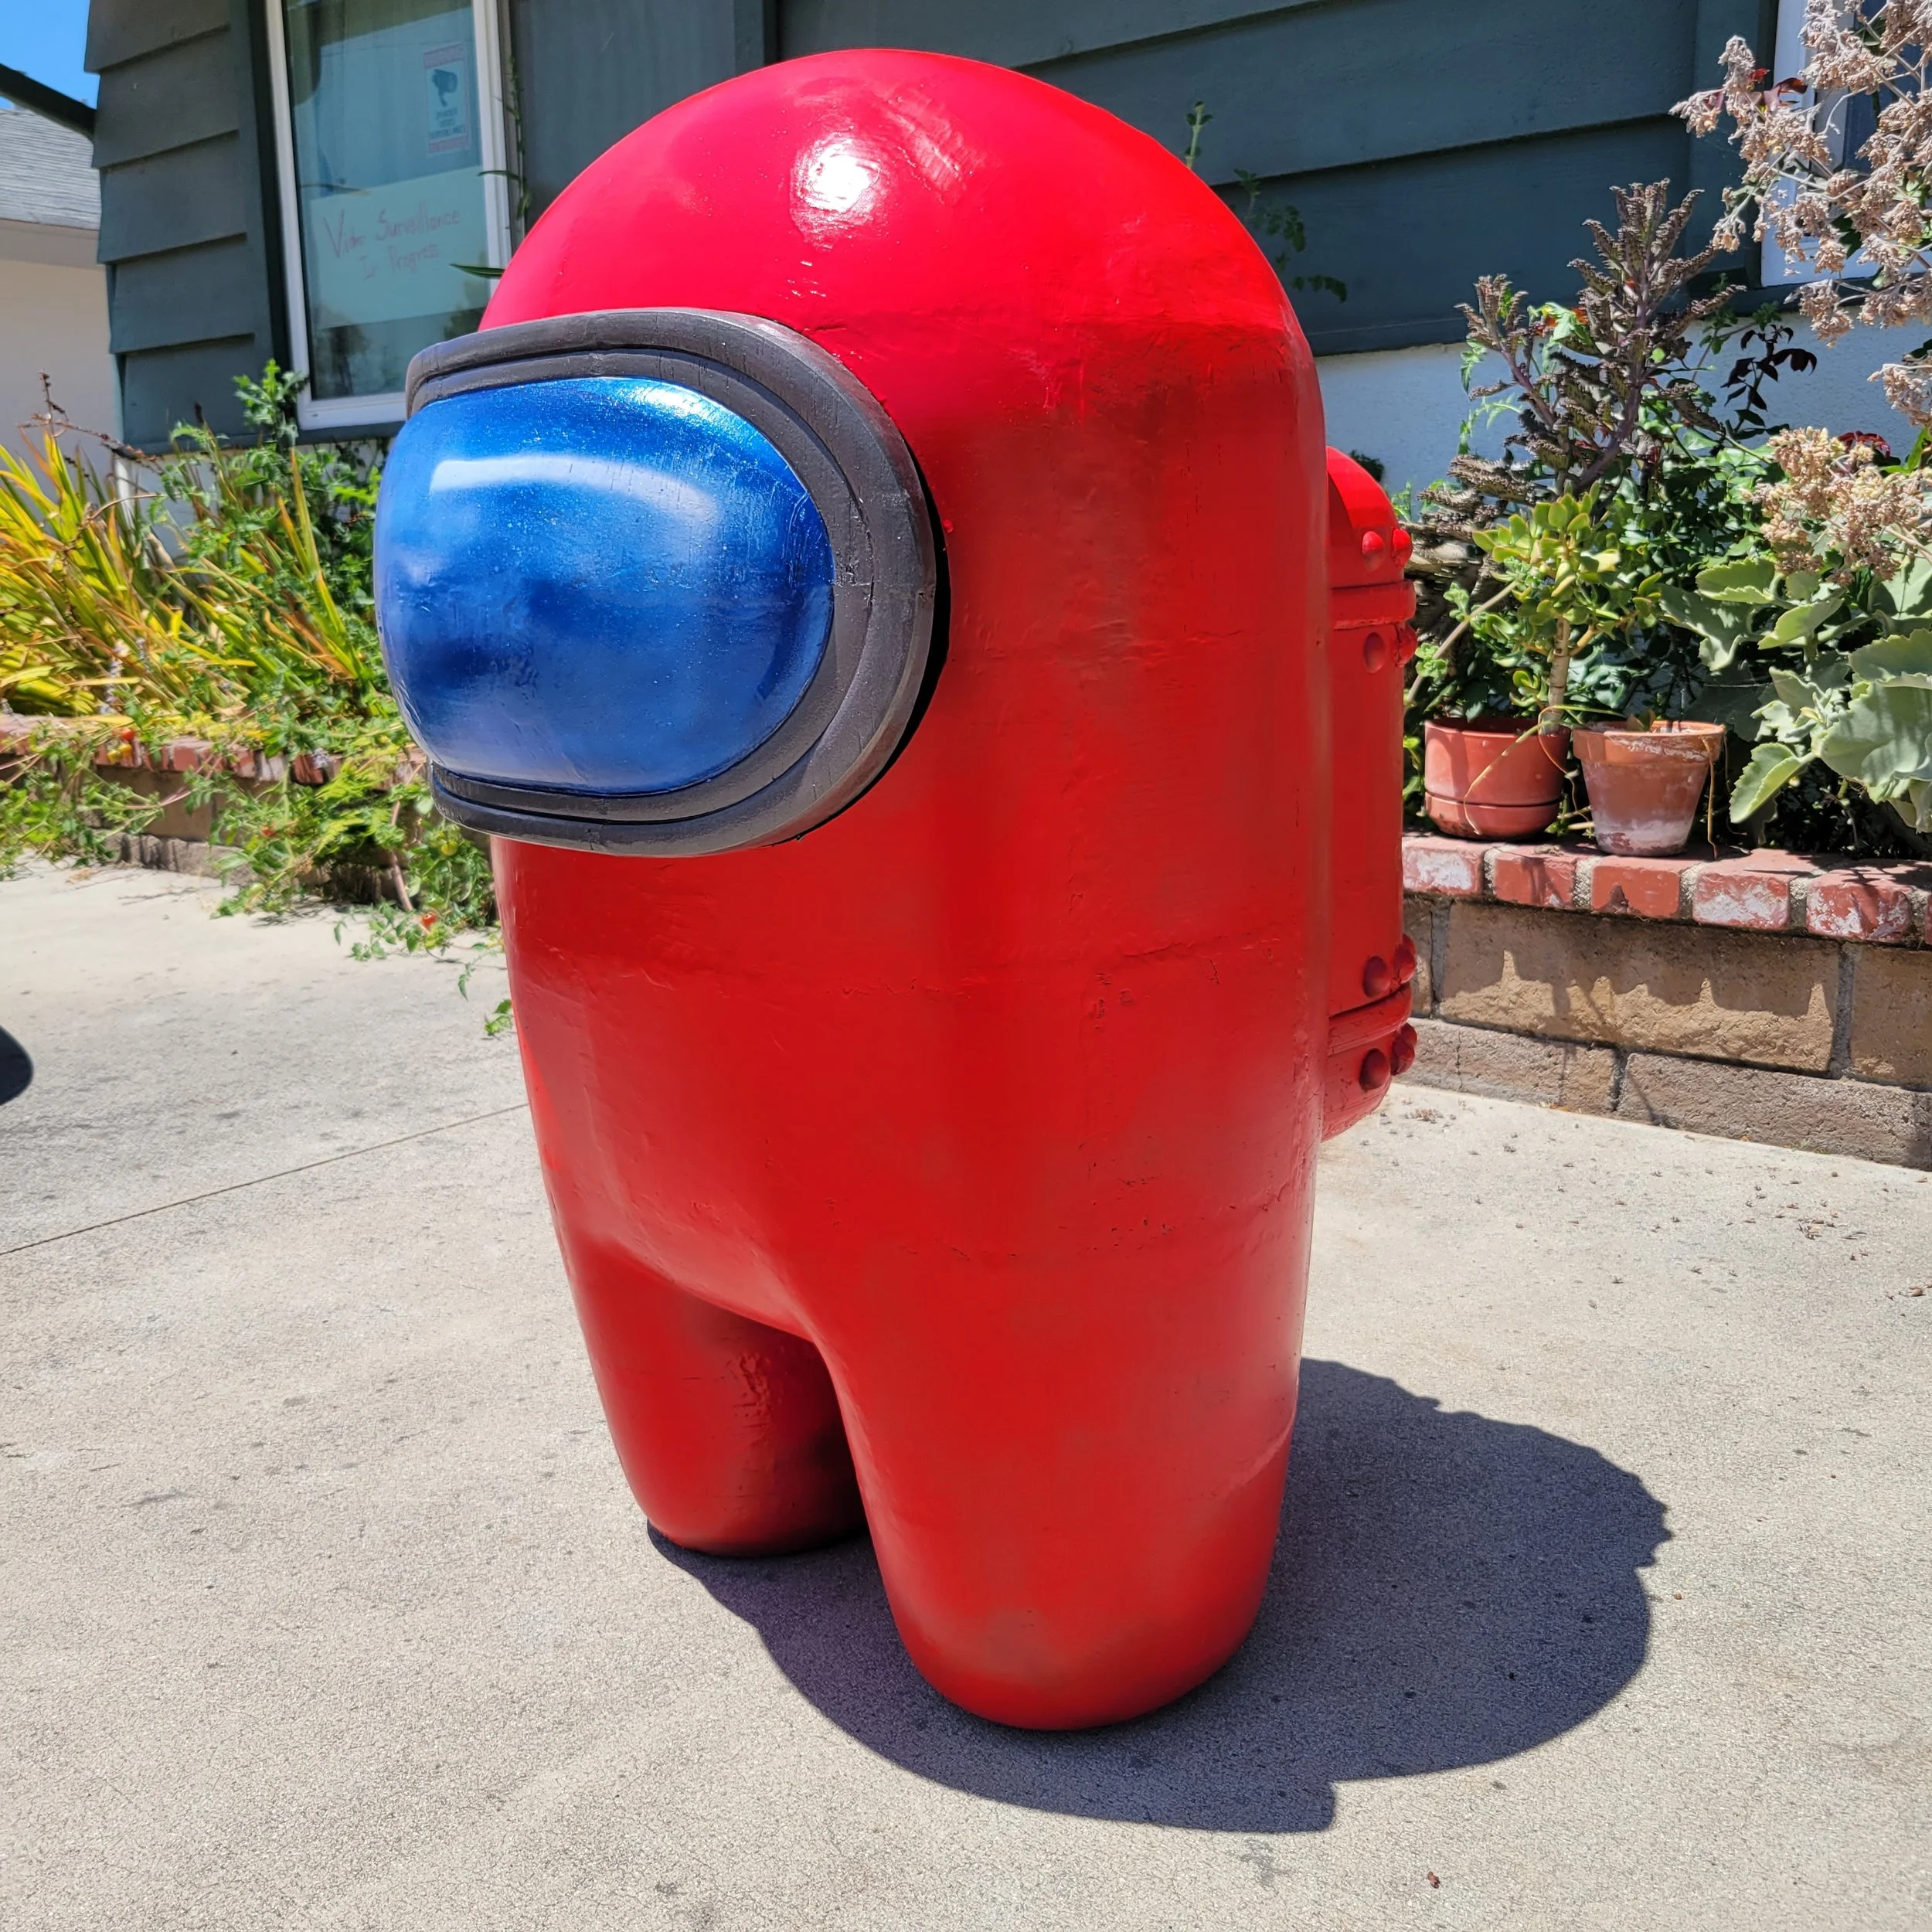
3 Foot Tall Among Us 3d Print
Project: 3Foot Tall Among Us
Project Goals: To make a 3 Foot tall Among Us Figure for my table at OpenSauce, a Maker Fair type event hosted by Youtuber William Osman.
Print Specifications:
Filament: Overture PETG
3D Printer: Four Creality Ender 3 Printers
Layer Height: .12 millimeters(mm)
Infill: 15%
3D Printed pieces: 72
Adhesive: Melted Overture Support material with a soldering iron
Panting Tools: Spray Paint was used due to time constraints. Future plans including using an airbrush for painting
Fabrication Process:
The 3D model is one I made in Autodesk Maya and minor sculpting done using ZBrush. The model was then made as one solid piece and enlarged to be 3 feet tall, and then hollowed in Mesh Mixer with a 8 millimeter(mm) wall. The 3 foot tall model was then cut into 6 inch by 6 inch segments resulting in 72 individual pieces. They were then put into the 3d printing slicer UltiMaker Cura and were 3D Printed on four Creality Ender 3. After many prints and printers breaking and being fixed all the parts were 3D Printed. I fused the pieces together with a soldering iron and the left over support filament to close any gaps leftover by any melting plastic. While fusing the pieces together I wore safety goggles and a respirator. When the pieces were fused together into the full among us figure it was sanded everywhere with a hand held rotary tool using a flapdisk attachment. When the among us was fully sanded it was sprayed with primer and coated with candy red Spray paint. It was then ready to be shown at OpenSauce.
Job done.
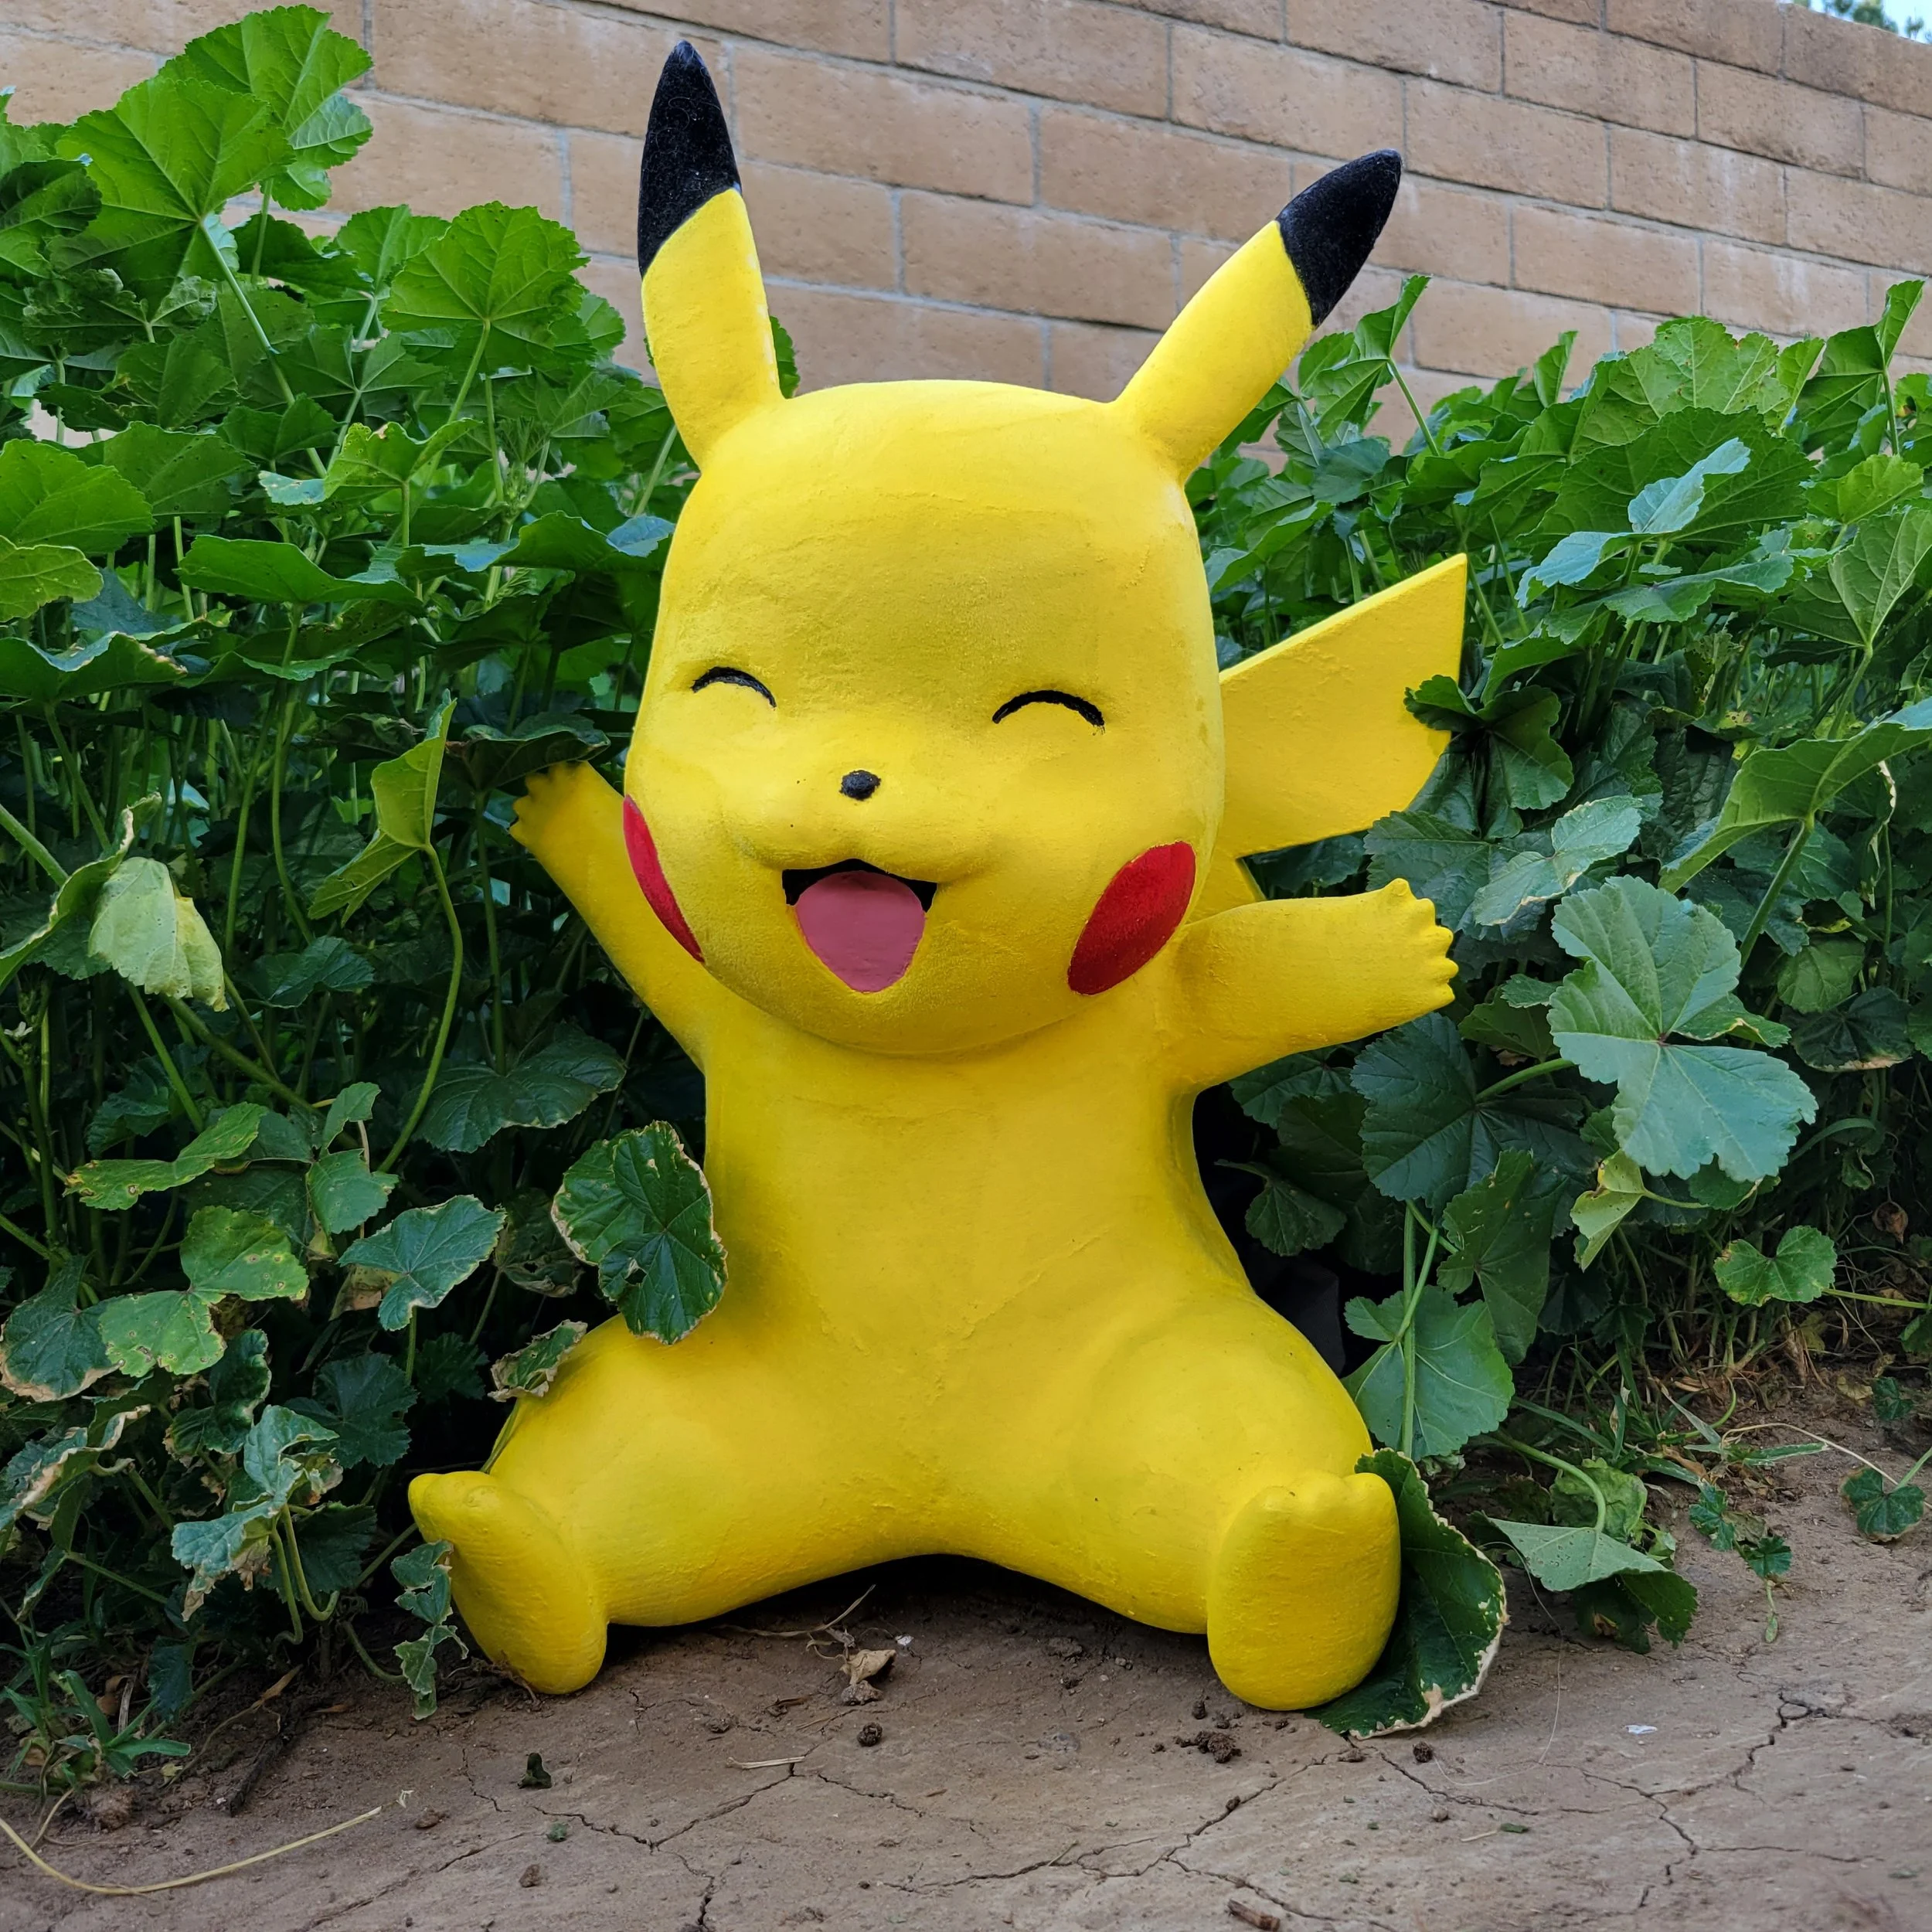
Life Size Pikachu for cosplay
Project: Life-sized Pikachu shoulder mount for Cosplay
Project Goals: To 3d print, paint, and flock a life-sized Pikachu to wear on my shoulder for San Diego Comic-Con as a cosplay prop.
Print Specifications:
Overture PETG filament
Layer Height: .2mm
Infil: 20%
Number of pieces:14
Adhesive: plastic welding
Fabrication process: After finding a 3d model on Thingiverse from (Patrickart) the model was scaled up to the official Pokedex Pikachu size of 1ft 2in. Then the Pikachu model was hollowed to a wall width of 5mm in ZBrush, the poly count was then reduced before exporting as a .obj file. After importing the .obj into Maya, it was cut into 6-inch pieces with trapezoidal ninja keys made for the connecting edges of the prints to stay flush with each other pre attaching the prints together. The printed parts were hand sanded and put together before fusing the pieces via plastic welding with a soldering iron. When all 14 parts were connected to form the completed Pikachu an oscillating sander was used on the seams and other uneven parts of the print. The print was then painted with gray primer and sanded again to uncover any other blemishes. After another coating of primer, the print was painted with the base yellow colors of Pikachu. With all the base colors on the print, it was ready to be flocked. The correct color of paint to the color of the flocking material (yellow) was applied to the print. Lastly, a harness with an anchor was attached to the finished Pikachu hidden under a button-up shirt to give the illusion that it would be sitting on the wearrer’s shoulder.
Job done.
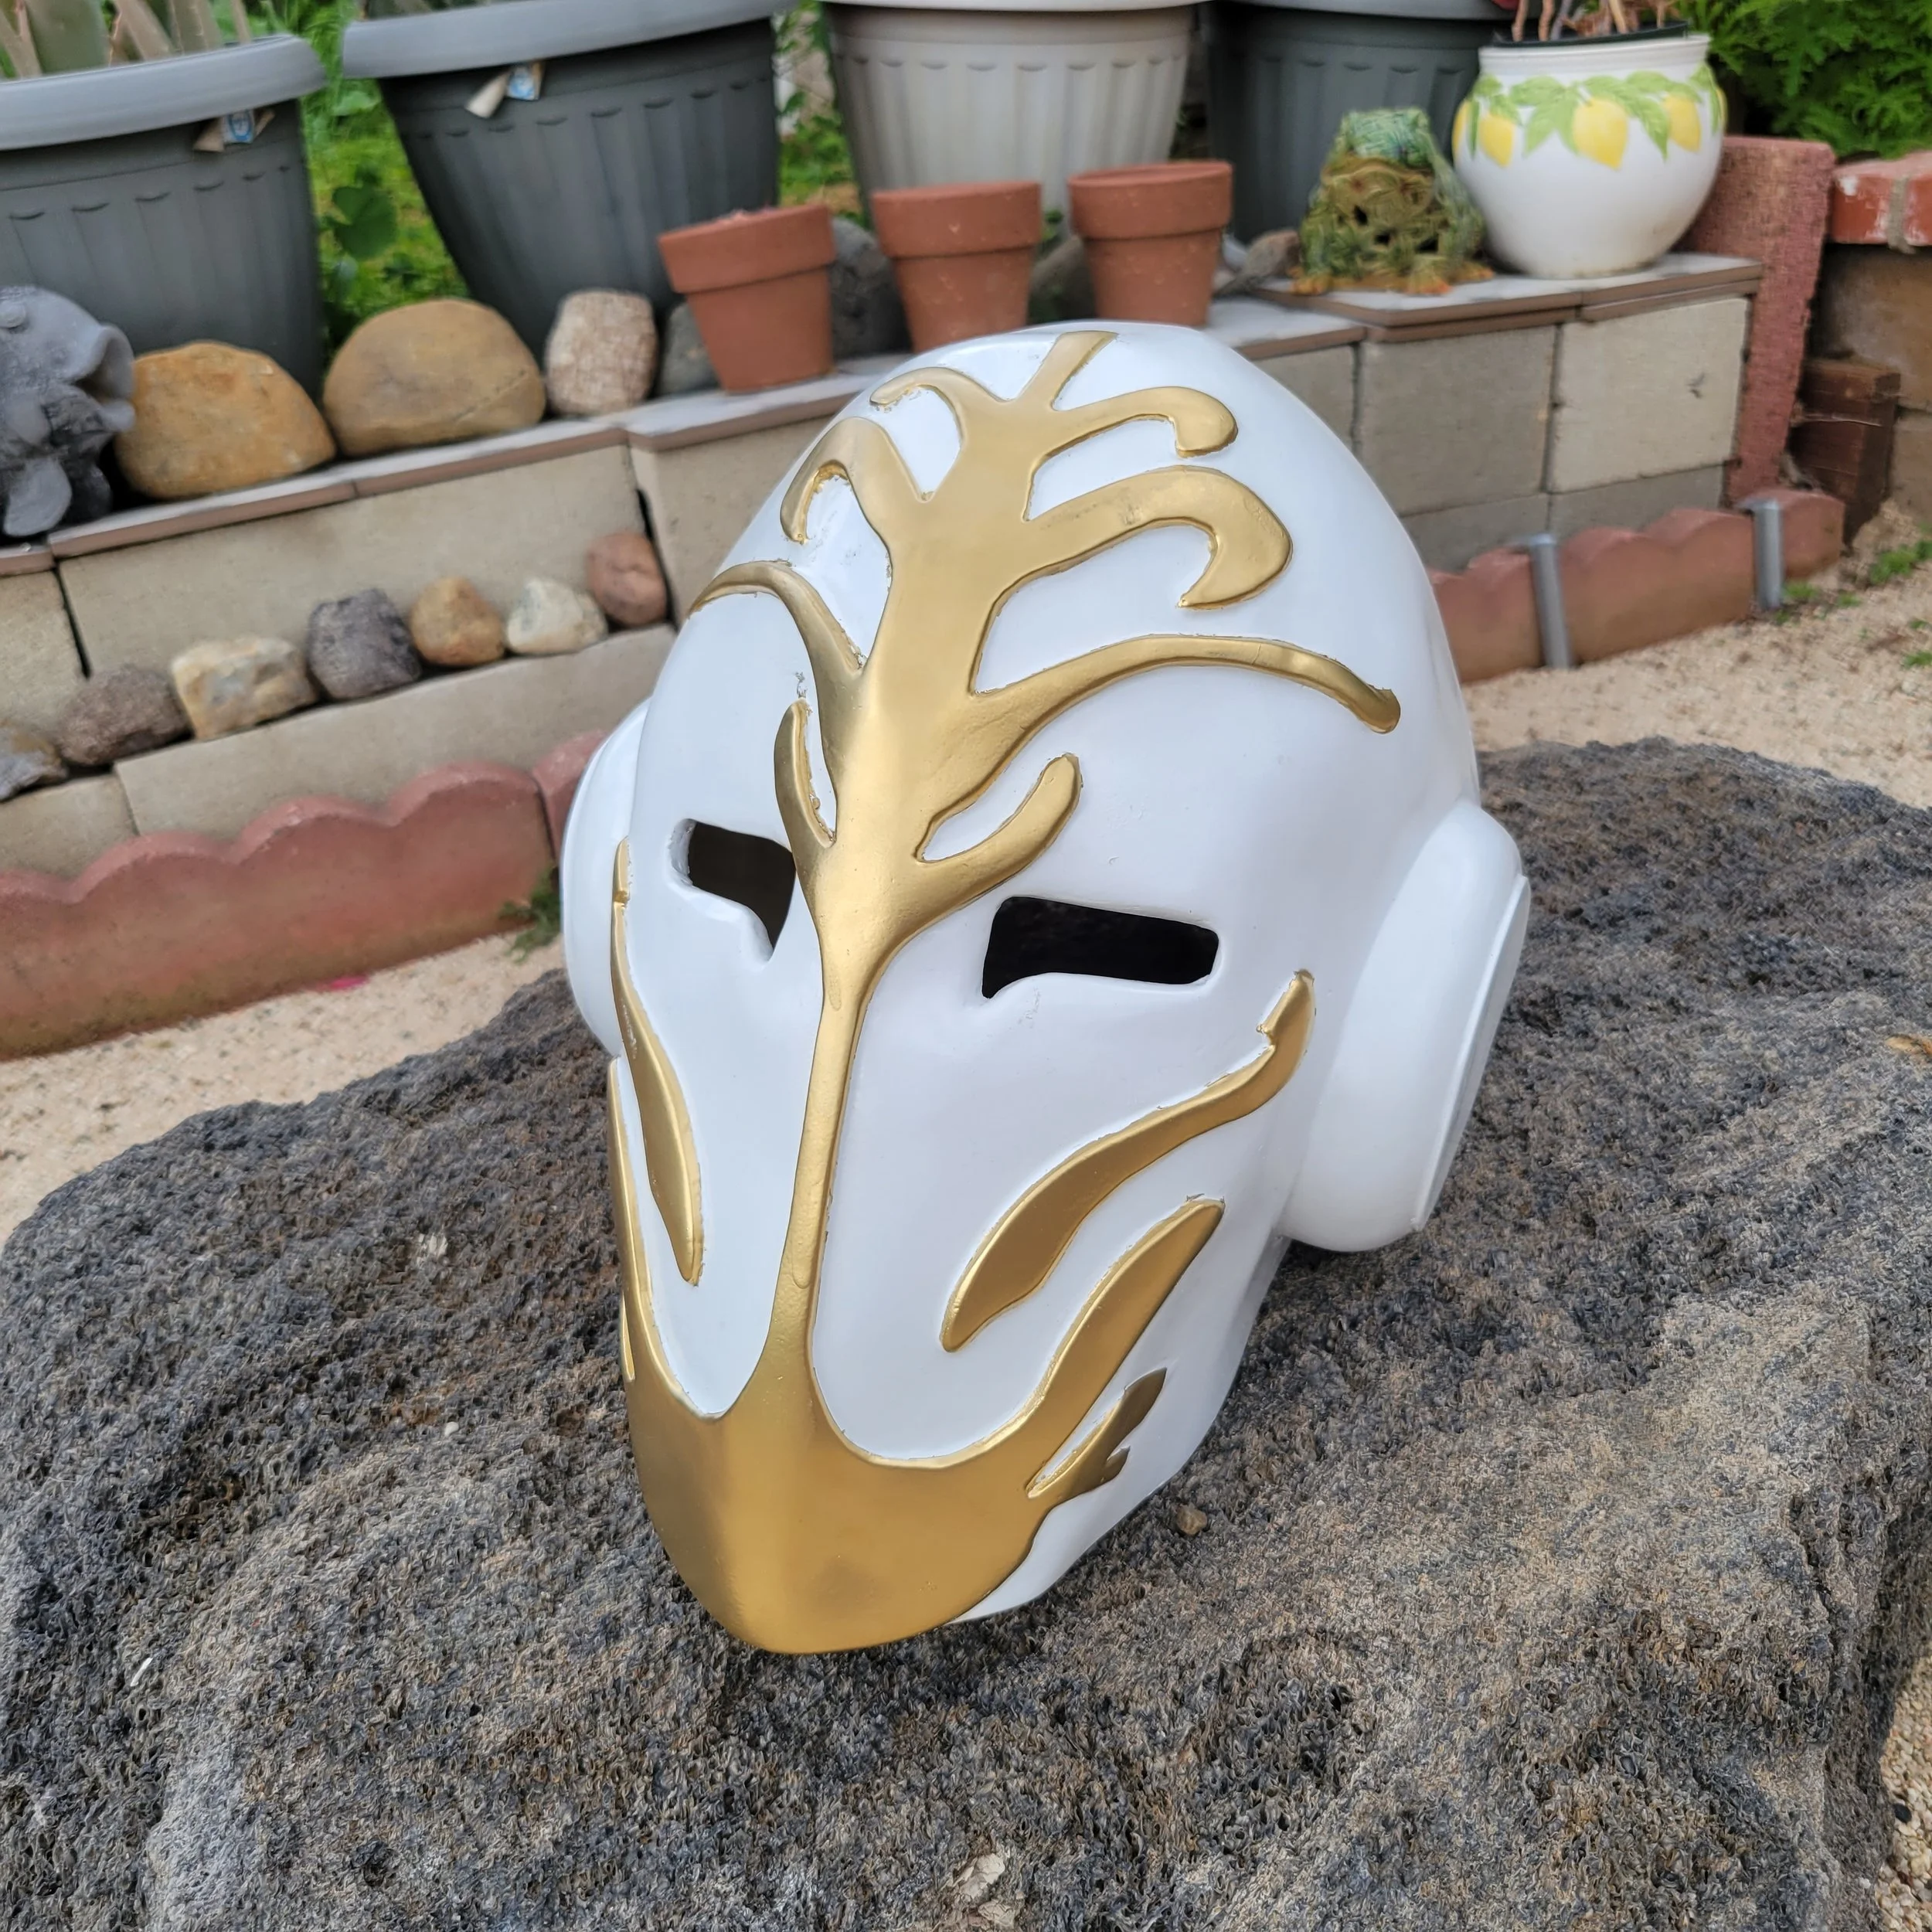
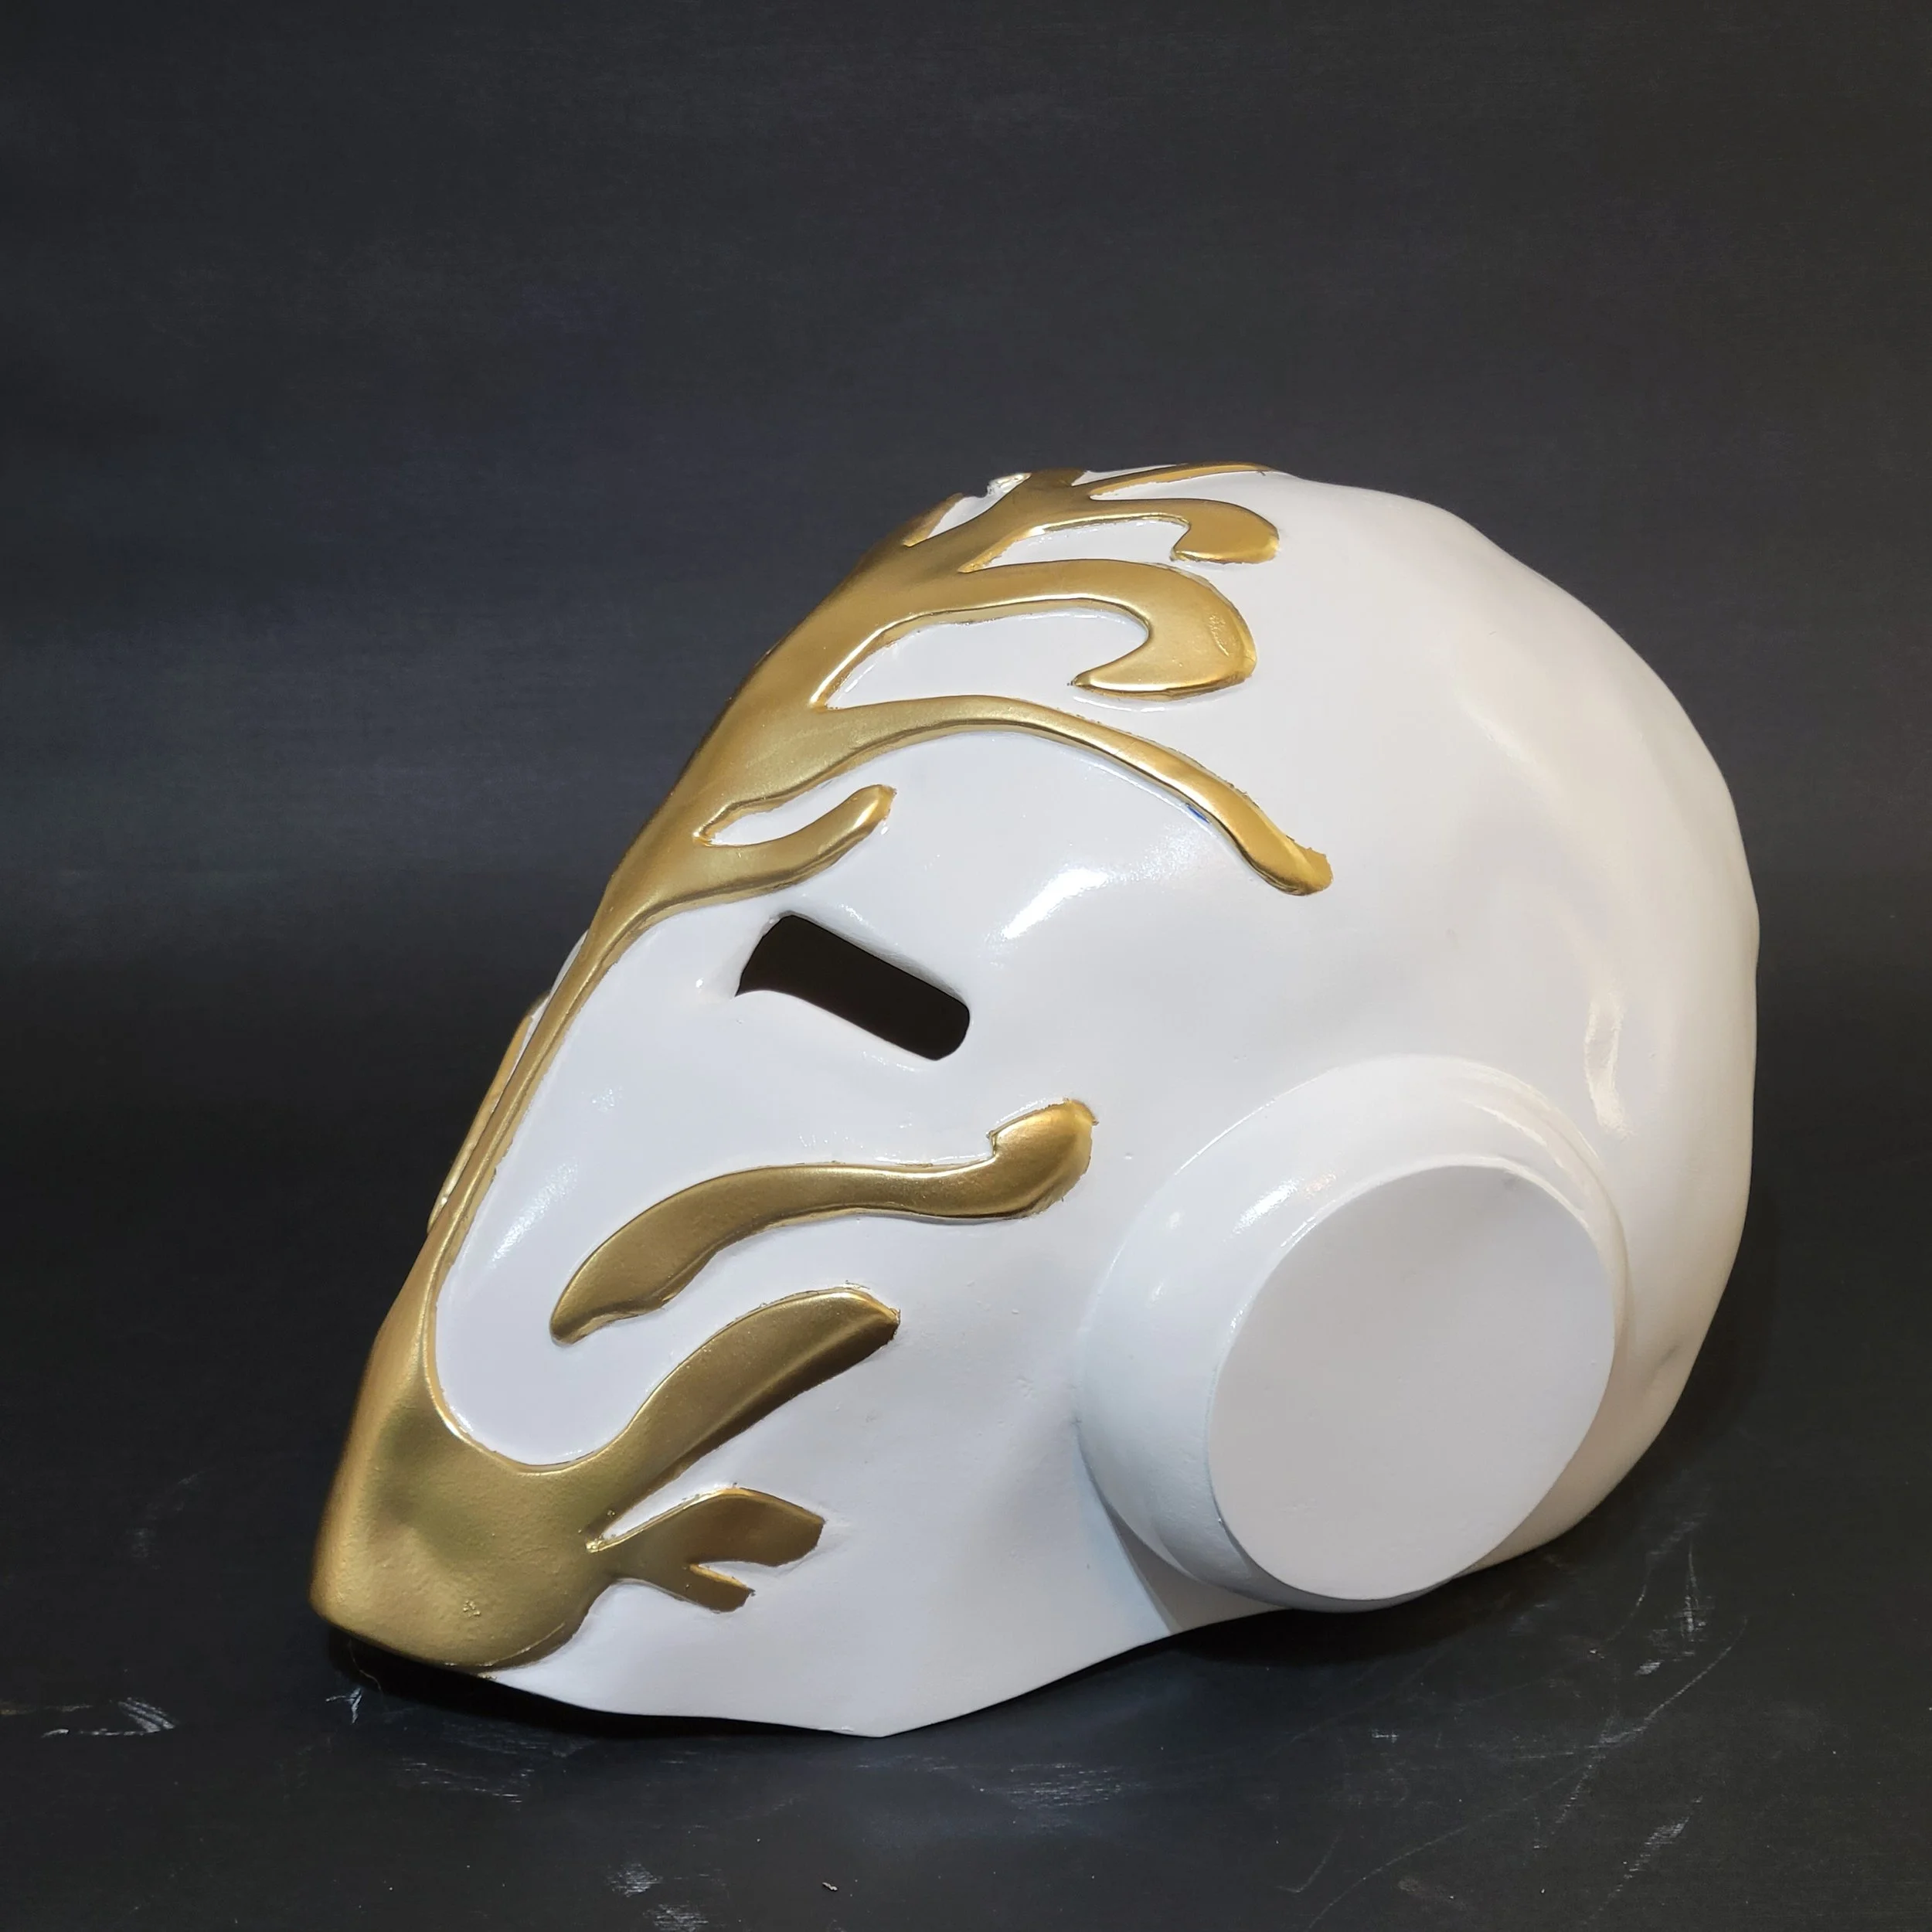
Jedi Temple Guard Helmet Cast
Project: Jedi Temple Guard Helmet mold and cast.
Project Goals: To create a movie-quality helmet that is mass-producible.
Print Specifications:
Ovature PETG filament.
Layer Height: .16 mm
Infill: 100%
3D Printed Pieces: 14
Adhesive: JB Weld
Molding Silicon: Smooth-On Rebound 25
Mother Mold: Plasti Paste II
Casting Material: Smooth-Cast 300
Fabrication Process: After searching for a 3d model of a Jedi Temple Guard helmet online, a free one was found on Thingiverse. Thinking this would save time modeling a whole new helmet, the model was downloaded and imported into Maya. When imported into Maya it was clear the model was small and not in good 3D printing condition, with many poly faces missing or contorted beyond any simple work. After 5 hours it was fixed and sized into a printable state with many of the parts needing complete replacing. The helmet was then cut into smaller 6-inch 3D printable parts and 3d printing began. The total thickness of each 3d printed part was 4 mm so each piece was printed at 100% Infill for better stability. After all the pieces were printed they were dry fitted and then sanded before JB Weld was applied bit by bit until the helmet was completed. More sanding was followed by an air-drying Bondo material to fill in any divots and holes. The helmet was primed and sanded to a smooth finish with 200-grit up to 1200-grit sandpaper. It was now ready to be made into a mold. The silicon used was Smooth On's Rebound 25. The first layer was applied to the helmet slowly to capture all the detail in the 3d print. The next 6 layers of Rebound 25 were mixed with Thi-Vex to thicken the consistency of the silicon. Each layer was left to dry in one-hour increments taking 7 hours to fully coat. The last layer of silicon that was brushed on had small bits of hardened silicon placed into it that were cut from an old mold that wasn’t being used any longer to create keys for the mother mold. After 5 more hours when the Silicon was cured, Plasti-paste II was placed on the Silicon in 4 separate quadrants of the helmet to create the mother mold. When the Plasti-paste II hardened, holes were drilled into it so nuts and bolts to hold together all 4 of the mother mold parts when casting. The casting material used was Smooth-Cast 300 and was applied as a rotocast, moving the liquid plastic around inside the mold until it hardened. this continued over the course of two hours in which a bound of the Smooth Cast 300 was used to fully strengthen the helmet with ample coverage inside the mold. The helmet was then painted with glossy white enamel, masked with painter’s tape, and painted again with metallic gold paint. the masking was removed and the paint job had some finishing touches done. Lastly, the helmet was coated with a few layers of crystal clear enamel for added protection.
Job done.
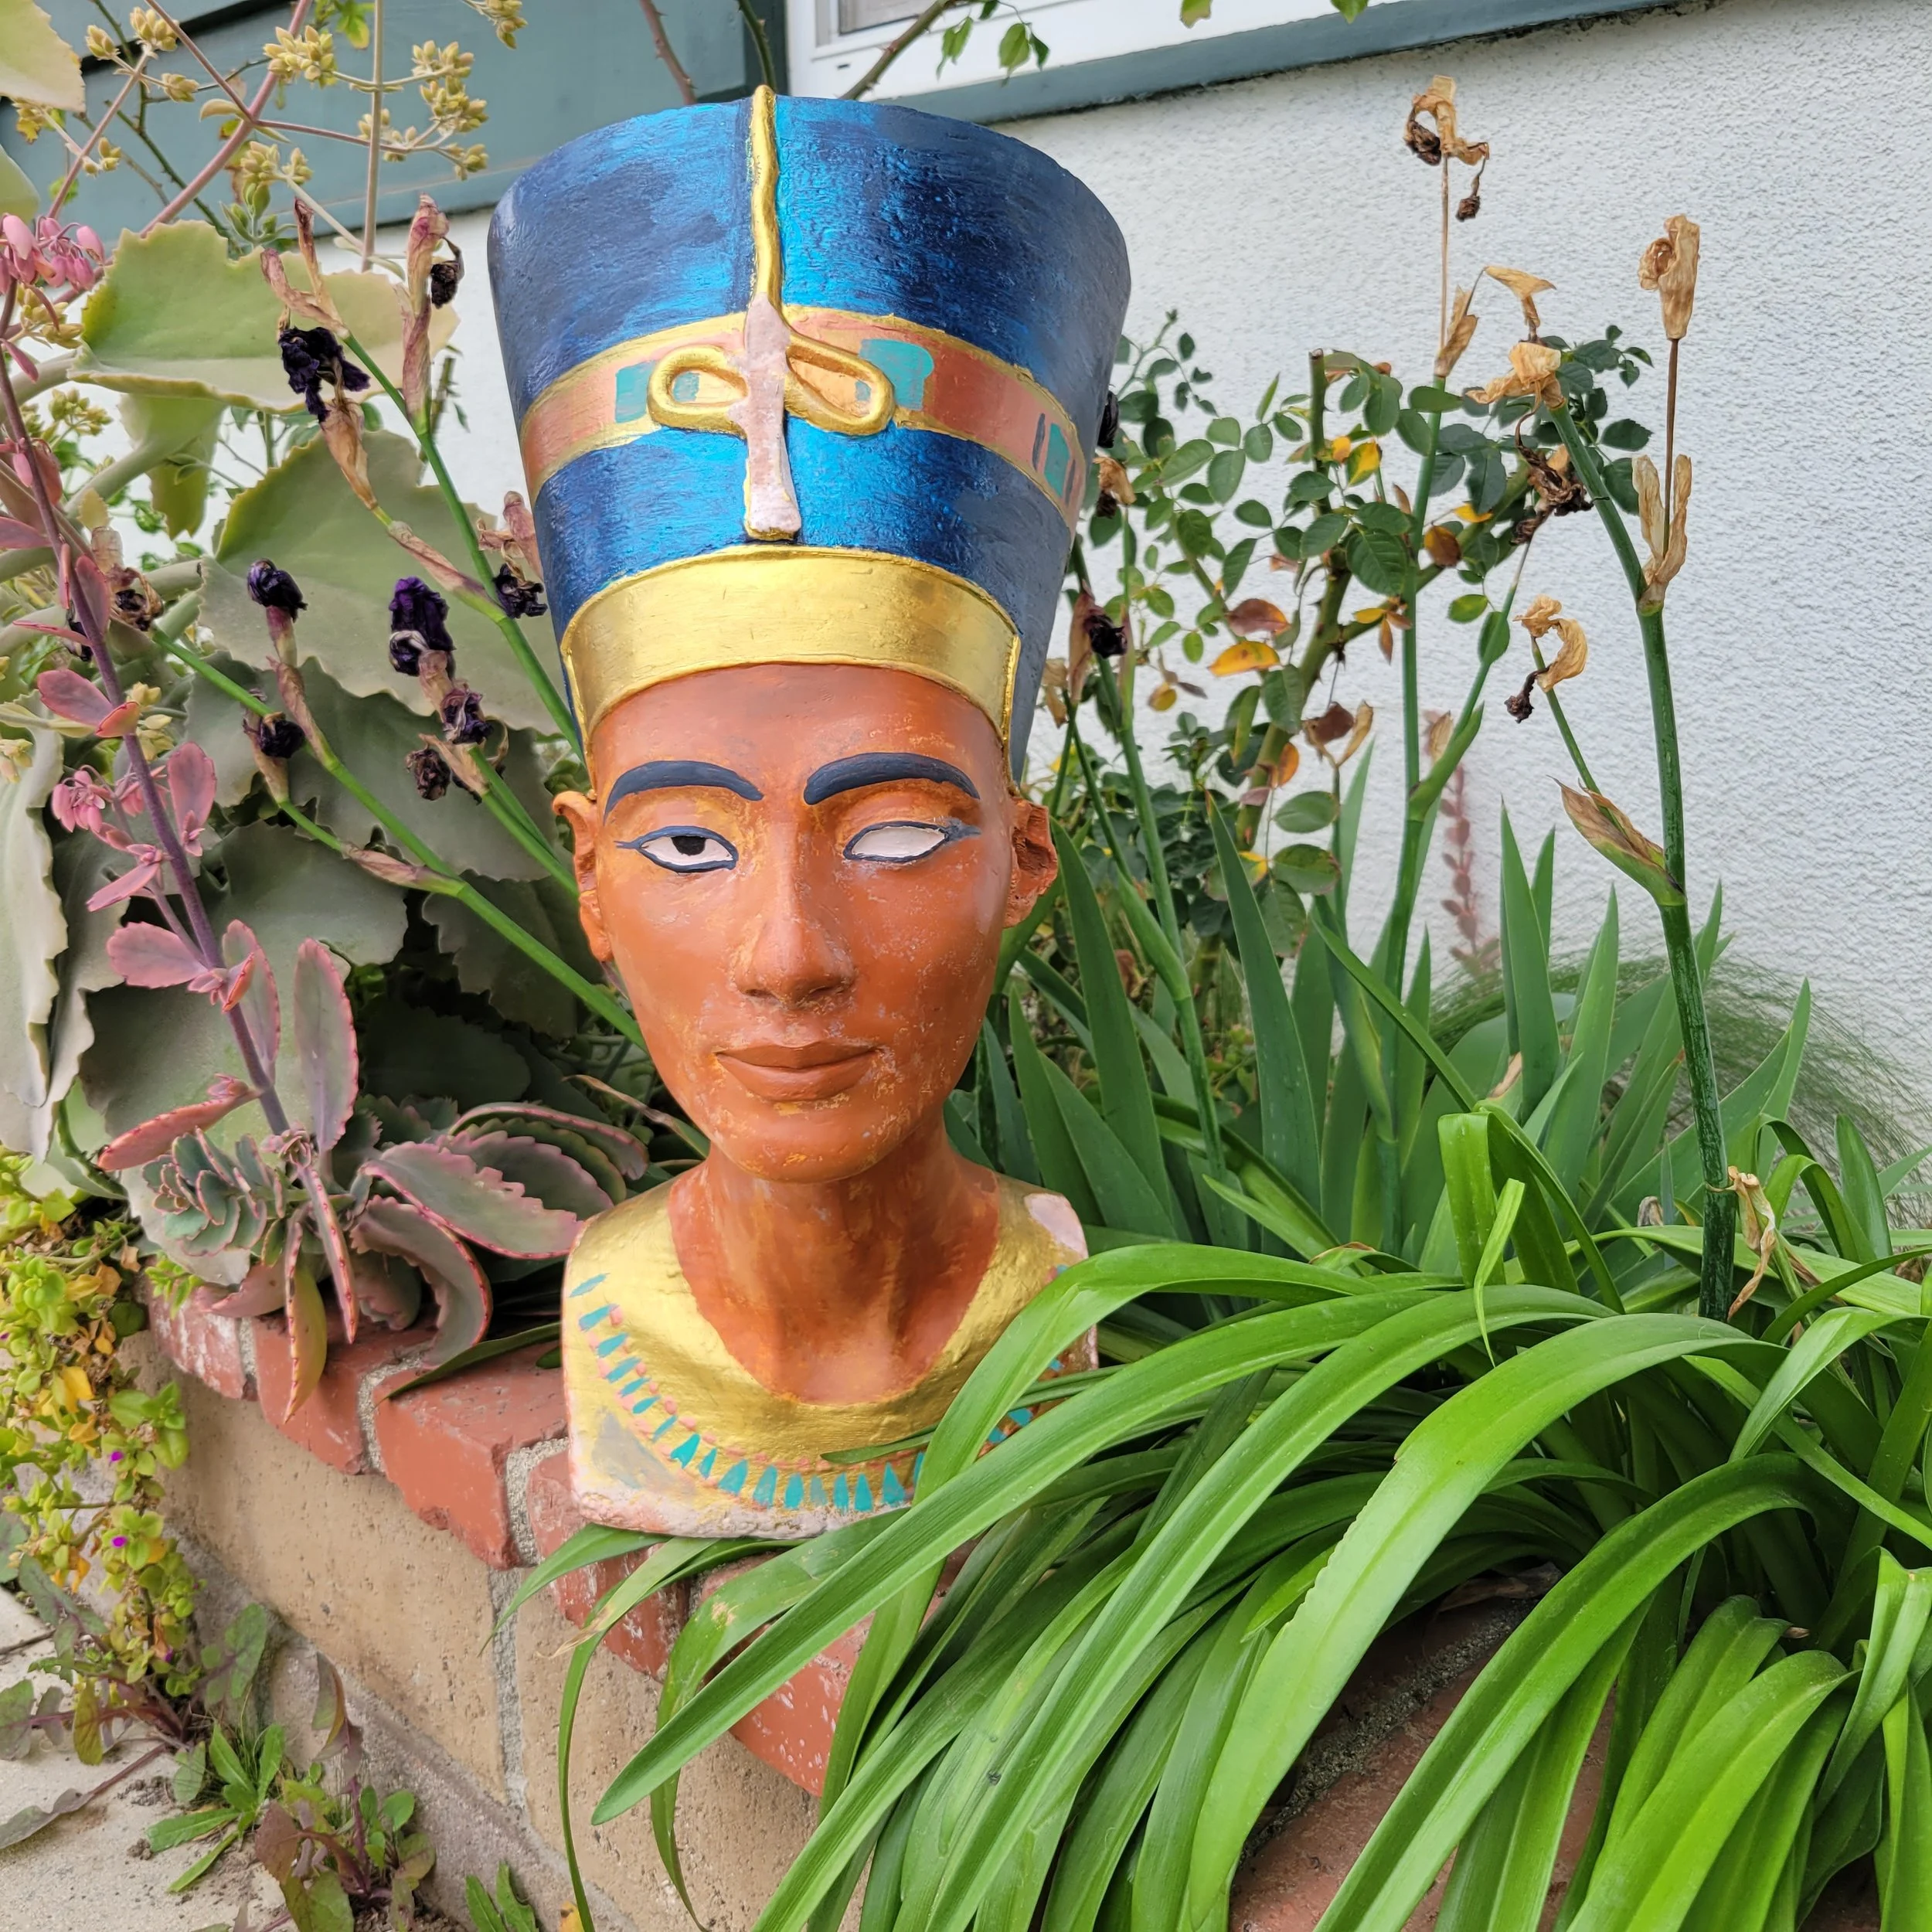
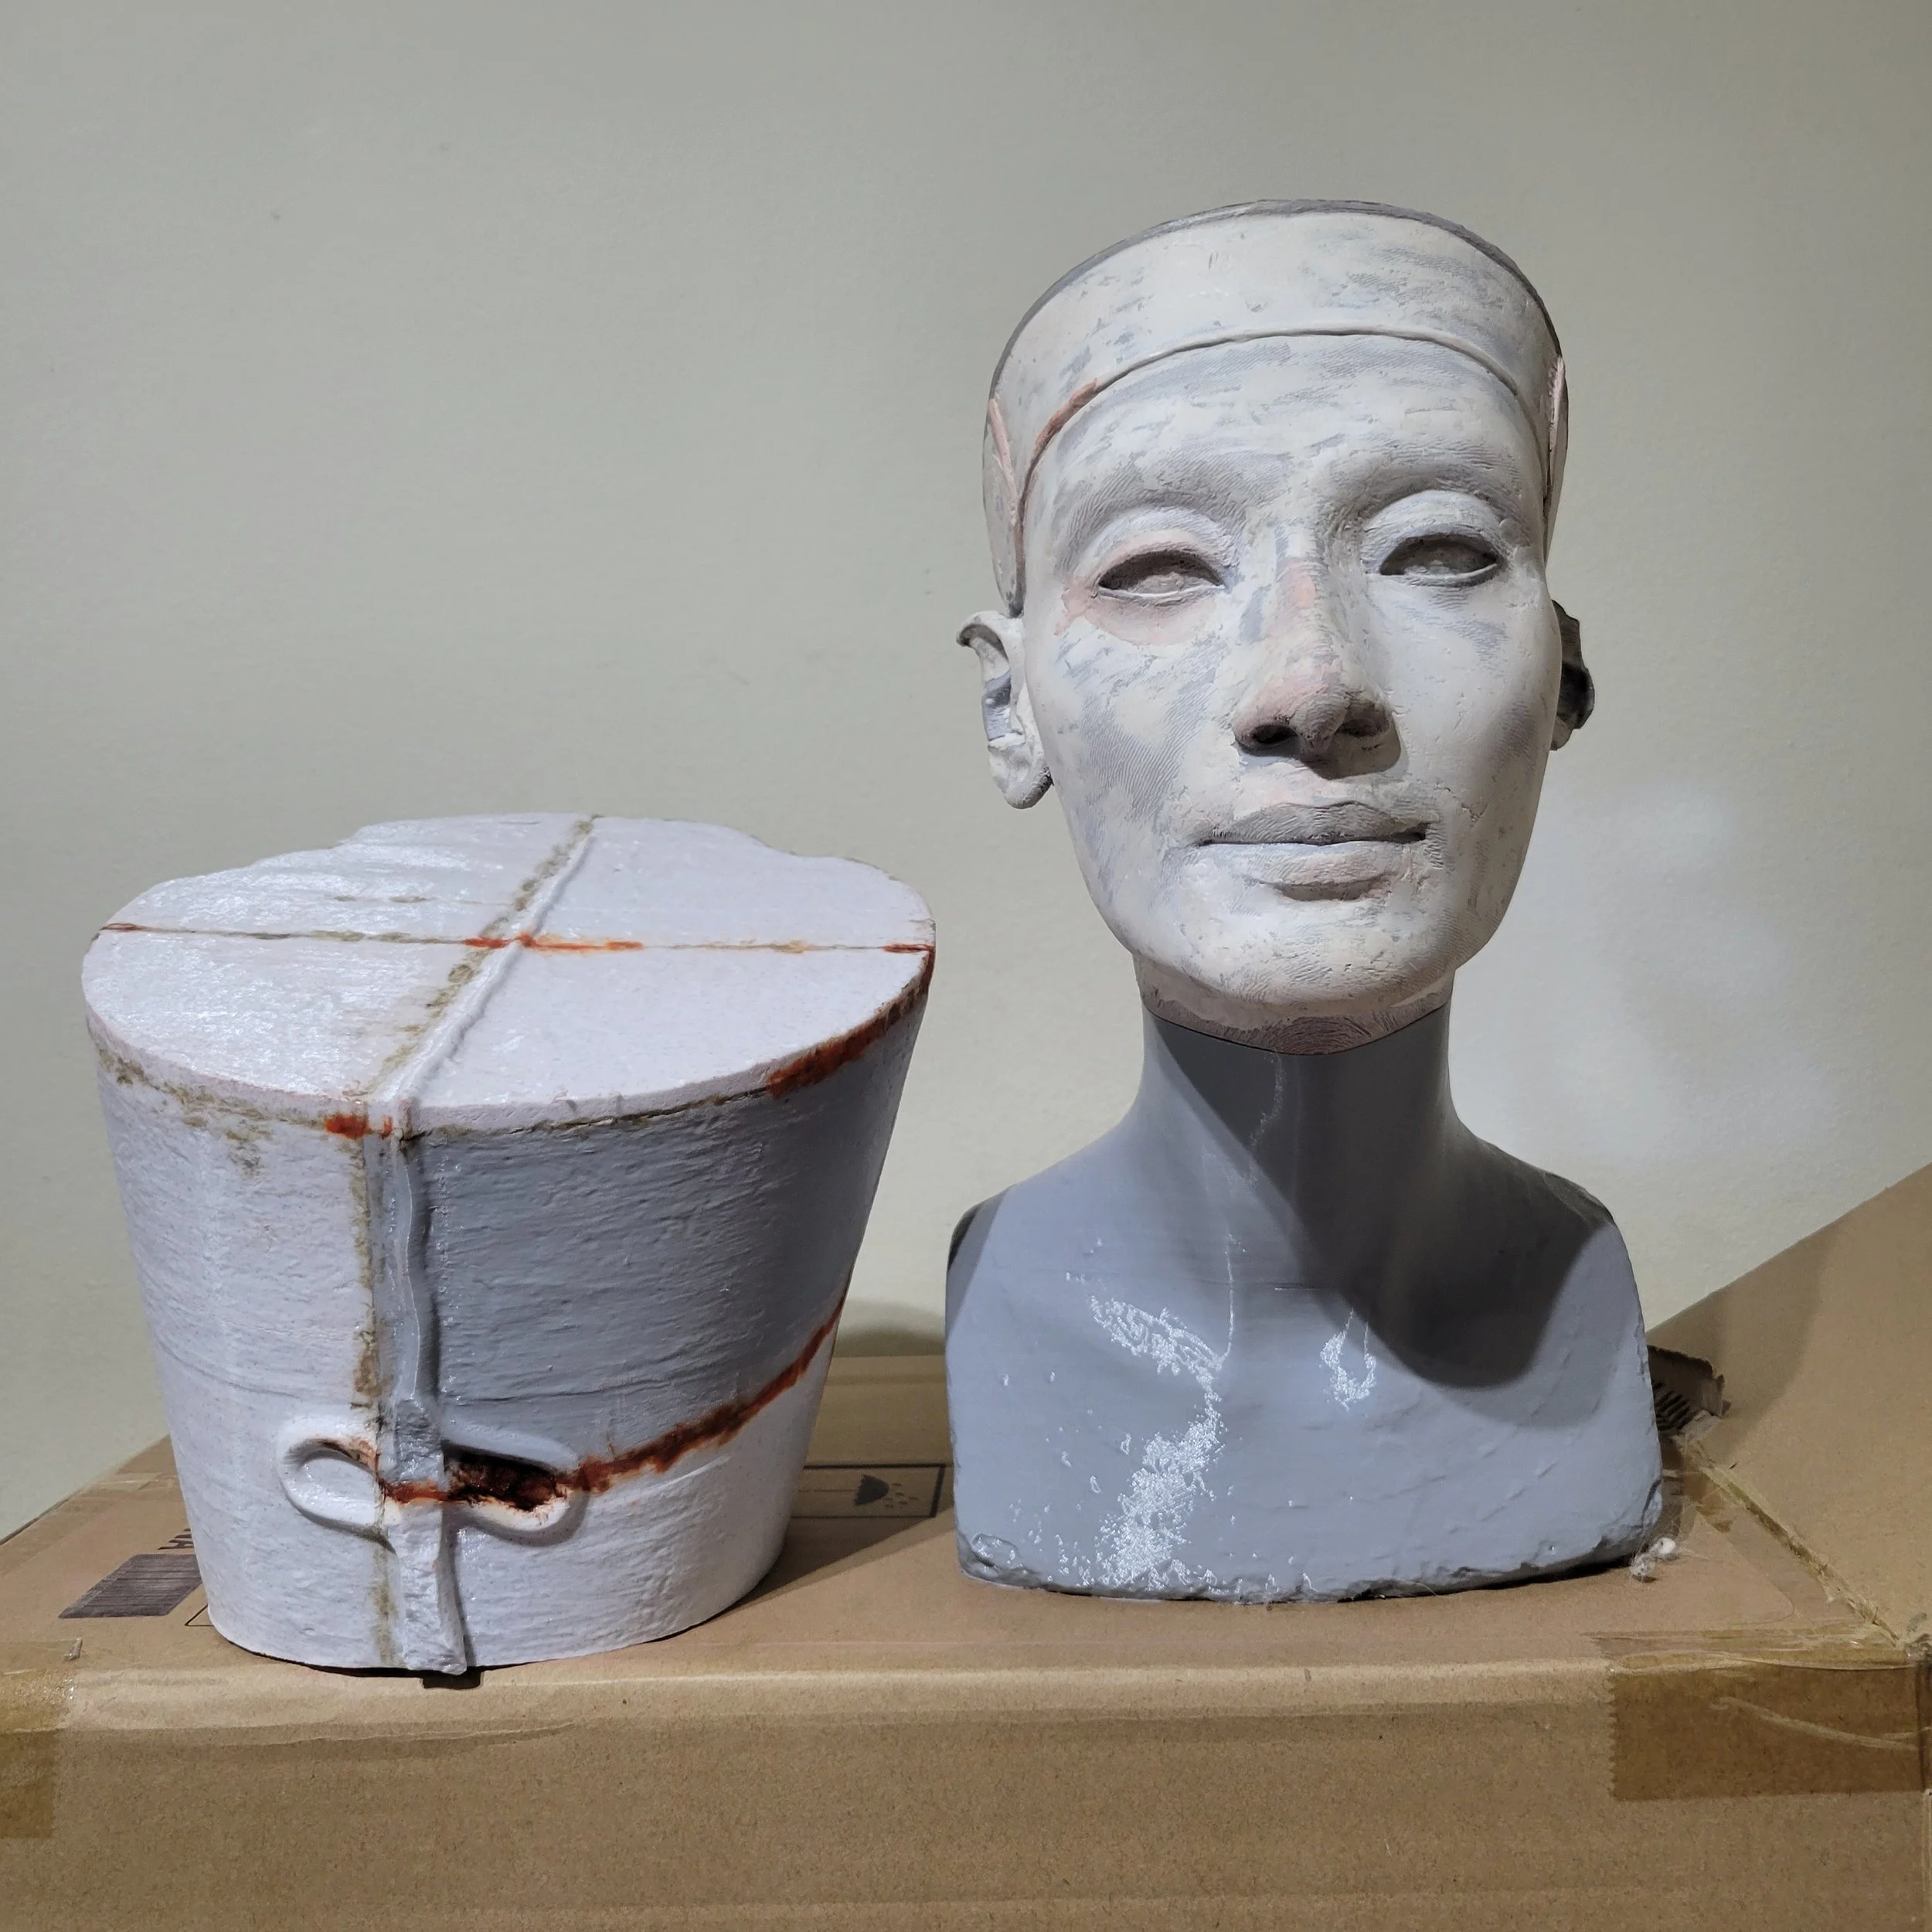
Life-size size Nefertiti Bust
Project: Life-size size Nefertiti Bust
Project Goals: to achieve a middle to background quality prop for a potential movie shoot as well as a reference for a digital double.
Print Specifications: Overture PETG FDM filament.
Layer Height: .2 mm
Infill: 20%
3D Printed pieces: 10
Adhesive: plastic welding with used support material as the welding agent.
Painting tools: gray filler primer, blue and terracotta spray paints, and an assortment of acrylic paints.
Fabrication Process: Obtained the 3d model from the Thingiverse link provided by the Berlin Museum to the public. The 3d model is already set to the correct scale by the publishers of the Nefertiti Bust, so all that was needed to be done was to hollow it in Zbrush leaving a 5 mm wall thickness then import it to Maya where the model was then divided into 10 different 6-inch 3D printable sizes. After the pieces were 3D printed, sanding was done to all the connecting wall pieces for better adhesion. A soldering iron was used to melt the two connecting edges of the separate 3D-printed parts to create a strong melted plastic bond. After all 10 3D-printed pieces were plastic welded together, heavy sanding along all the welded seams was done with an electric oscillating sanding tool. Then the seams and any other gaps were covered by an air-drying Bondo product to fill in any imperfections that were made in the 3d printing process then sanded flush after the Bono product dried. Primer was used to cover the whole project and exposed a few more flaws which were then sanded, filled in with Bondo, and sanded flush again. The two largest areas of the Nefertiti bust are the skin and the headpiece so those two pieces were sprayed with spray paint masked with masking tape to prevent any overspray. For the skin portion, a paper towel was lightly applied to the drying paint to give a more bumpy and realistic look akin to carved stone. The rest of the piece was hand painted with acrylic paint to achieve the desired look as shown in the picture above. It was then sprayed with a pearlescent clear enamel coat for further protection from the elements.
Job done.
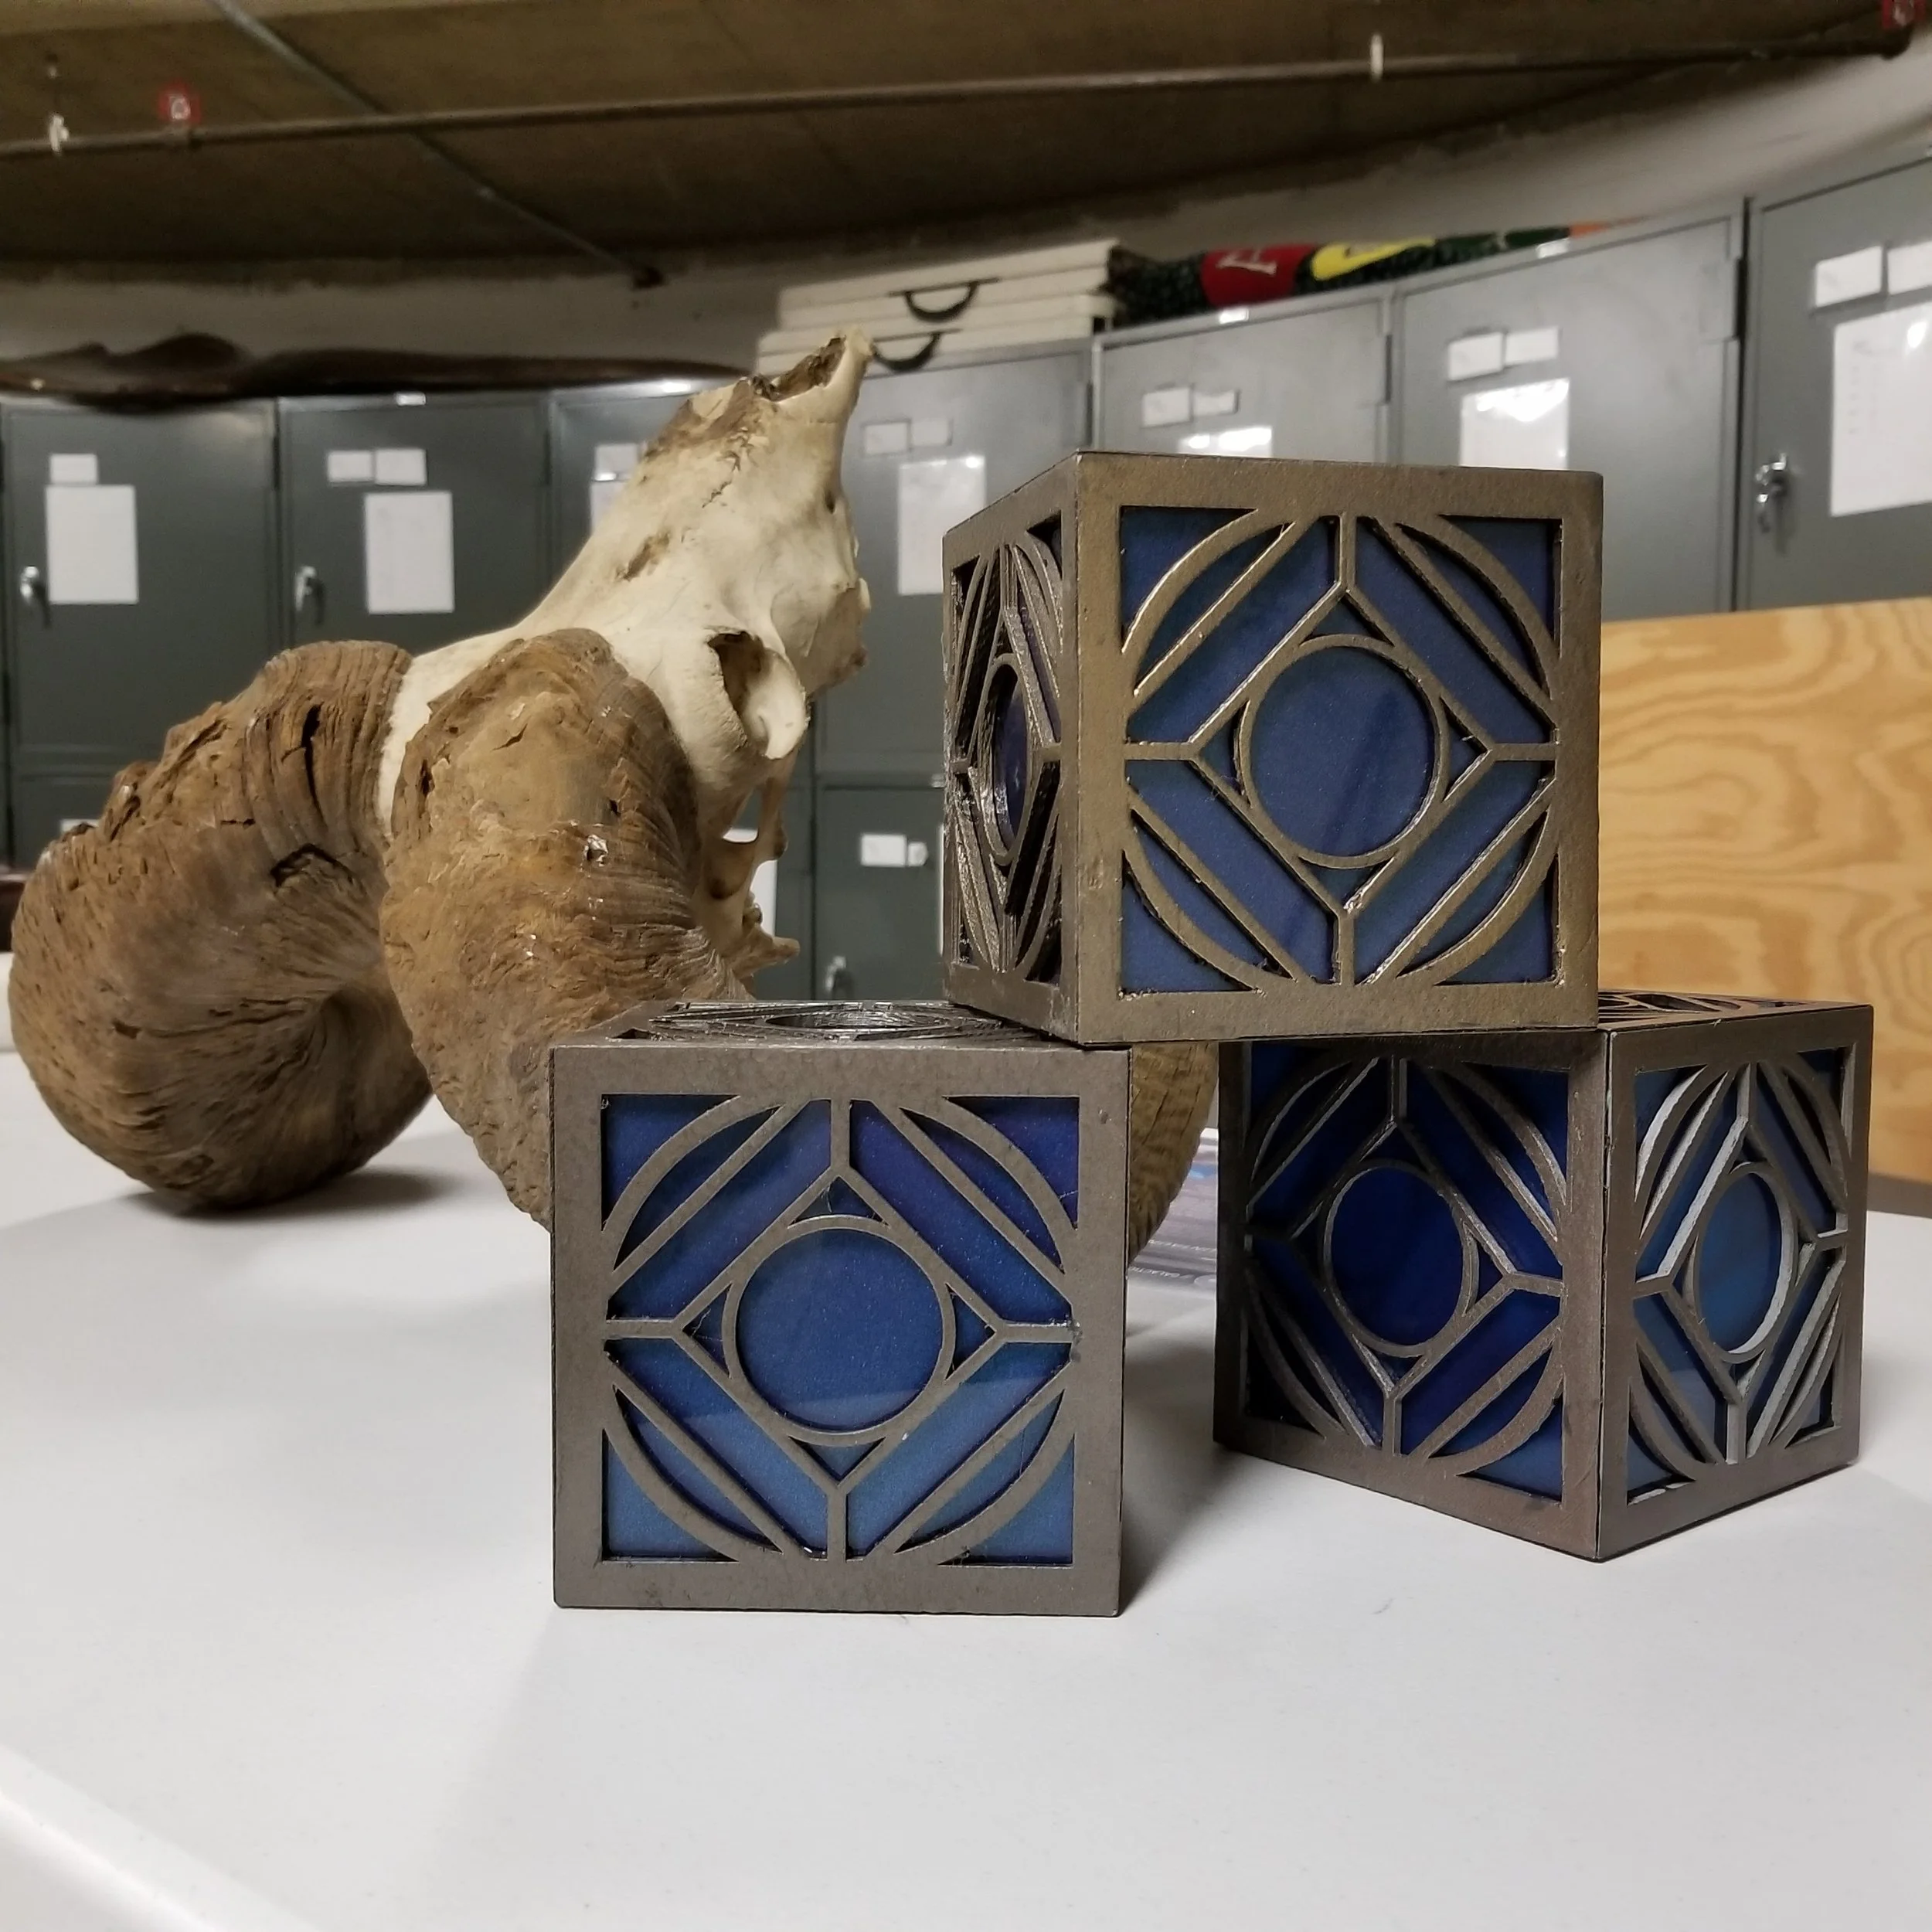
Jedi Holocron
Project: Jedi Holocron
Project Goals: To create a display piece for Cosplay for Science.
Print Specifications:
Filament: Amazon Basic PETG
Layer Height: .12 mm
Infil 100%
Number of Peices: 5
Adhesive: JB Weld
Fabrication Process: The model was made using Fusion 360. It was modeled as a 6.25-inch square with sides at a 45-degree angle so multiple of the same print can attach together to make a box shape.
For the inside 4 edges, a lip was modeled on the inside to hold a 6-inch square of plexiglass inside. 5 of the same 3D model were printed with the flat side on the print bed. After the prints were sanded and finished the flat sides were painted with a metallic spray paint that dried with a hammered metal finish. The plexiglass was lightly spray painted with metallic blue spray paint followed by a very light spirit of gold spray paint for the center of the plexiglass to give it a subtle glow effect when a light would be placed inside it. When everything was dried the plexiglass was glued with a supper glue into the 3d printed pieces before the 5 printed parts adhered with JB Weld.
Job done.


